
15 Oct How to Replace Brake Shoe Tips
When replacing brake shoes you may have more problems than when you started, not all re-lined brake shoes are created equal because you are getting a used to very used table. Some reliners have a strict core program to ensure you get the best cores possible, some don’t and this can cause problems if you don’t pay attention during the installation process.
Two things to watch for when installing your brake shoes: Alignment: after the shoes are installed w/new springs look at the cam end are the rollers centered? Are they drifting toward the outside of the cam? Can you push on that end of the shoe and make it rock? Second: Wear: – On the spider end grab the upper shoe and try to move it up and down and from side to side, can you notice wear or excessive rocking? What does the cam end do when you move the spider end?
If one or both shoes show any of these signs and you install your brake drum and wheels and tighten them up you will notice a very big brake shoe drag even with the cam backed off. The reason is the shoes are tipping and dragging on the inner drum which if run that way will heat up and cause the wheel to get hot and may lead to – wheel seal leaking, possible bearing failure, locked up wheel from hot brakes, drum damage and your new shoes will be ruined.
So go back to your brake supply and find a shoe that looks better to the eye or use a core gauge to check for wear, when you install a set of shoes the wheels should rotate freely, if a drag is felt, it may be caused from bad shoe cores, s-cam bushings worn, drum needs to be replaced, wrong shoe appliction, not enough system air pressure, or the brake adjustment is off.
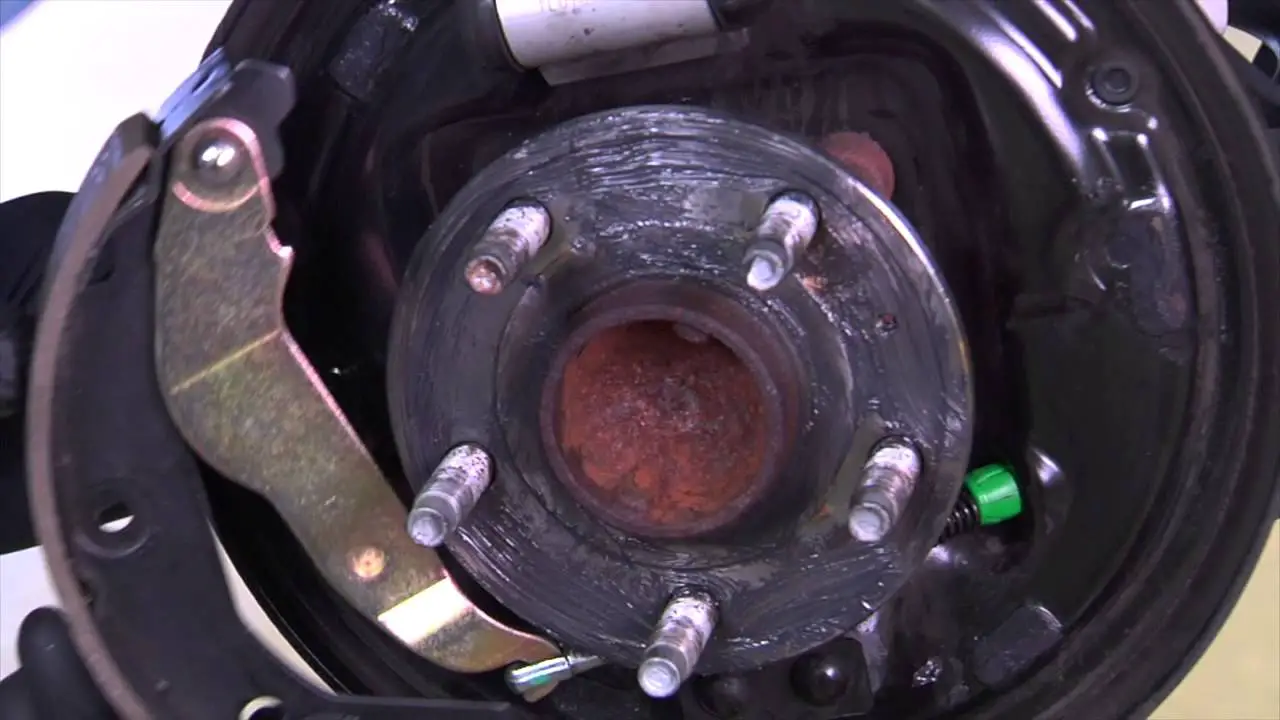
When removing brake drums if you can’t get them to pop by tapping on the rear band and you have to get rough with the drum plan on installing new drum, when you hammer on the drum it changes the drums balance, and can produce high spots on the inside which can also create heat and brake drag.