
How to Make a Low-Cost Alcohol Stove for Camping?
Among the least expensive options for a stove while camping or backpacking is a homemade alcohol stove, often called a beverage stove or pop-can stove. While alcohol stoves can be purchased for hiking at a relatively inexpensive price, the homemade versions are virtually free.
Table of Contents
Low-cost Recycled Materials
The cost of most versions of homemade alcohol stoves is low, especially when the materials are salvaged. Most versions only use a pair of cans aside from the tools for construction. More advanced versions might involve cementing agents and a bolt. This means that they can be made for free in many cases. Even with more advanced versions of this lightweight camping stove, the cost can be quite low.
Simplicity of the Alcohol Stove
One of the greatest advantages of any alcohol stove is that it lacks moving parts which might malfunction. As long as the camper or hiker is able to prime the device, it will work. This simplicity is not to be discounted when considering any stove that is being taken on a hiking or backpacking trip. What other stove offers a 0% failure?
Crafting a Free Cat Can Style Alcohol Stove
Materials
- A salvaged tuna or cat food can free of paper and completely cleaned
- A strong hole punch
- A black marker
- An inch of bit of wire
Instructions
- Smooth the rough edge on the inside of the can. The edge of the hole punch is likely hard enough to do this by pressing inward against it.
- Make 16 marks along the upper edge of the can, evenly spaced. This can be most easily achieved by marking in four places opposite to one another so that drawing a line between them would create a plus symbol. Then between each mark a line at the exact center point. Between each of these, mark another point at the center of the smaller spaces created. This should give 16 evenly spaced markings.
- Using the hole punch, make a hole under each mark, evenly spaced and not too close to one another.
- Make a second set of holes below these, just below the midway point between any two of the previous holes so that the openings are staggered.
- Curl half of the wire into a spiral around the other half so that if placed on a table, a length of wire extends strait up from the center of the wire. If the wire extends further than the lip of the can, cut it down to slightly less than flush.
- Place the wire in the center of the can prior to filling with alcohol.
NOTE: The wire can be skipped, but works as a primer to accelerate the evaporation of the alcohol.
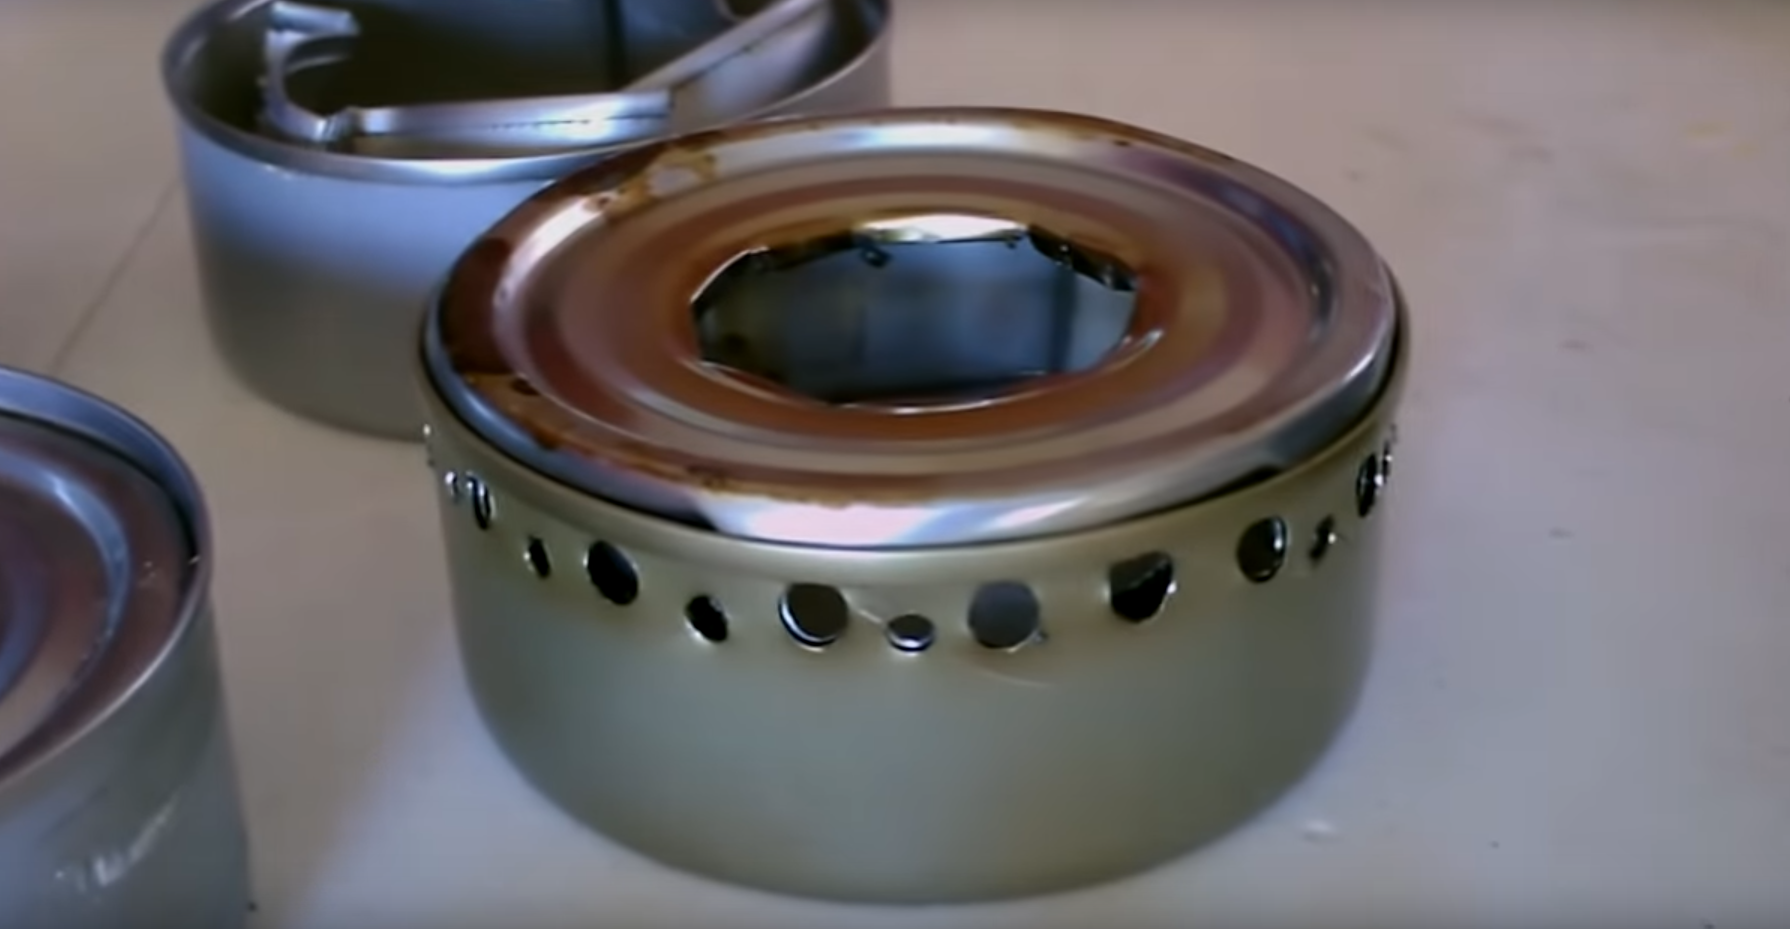
Crafting a Low Cost Pop Can Alcohol Stove
Materials
- Two soda cans
- A marker
- Two books, one fairly thin and one thick
- A ruler
- Tin snips or scissors
- Needle nosed pliers
- A nail or thumb tack
- A hammer
- Optional: High Temperature Silicon Gasket Seal
- Optional: Fiberglass Insulation
Instructions
- Place a book or two beside the first can with the marker resting on it so that the tip of the marker is roughly 1/4 of the way up side of the can.
- Open the marker and turn the can slowly so that an even line is marked off around the entire can.
- Remove the thin book and repeat with the second can so that the line on this one is around 1/4 of an inch lower than the first.
- Carefully cut a can, starting well above the mark, working down until only a small bit of metal remains over the line. Throw away the excess.
- Very carefully cut to the line so that it is smooth and even.
- Repeat the cutting process with the second can.
- Using the shorter of the two cans, flip it so that the can bottom is upwards. Mark 16 spots in the same manner as the cat can alcohol stove. These spots should be evenly spaced and be halfway between the side of the can and extended rim at the bottom of the can.
- With the nail or tack, apply pressure to each dot with the sharp end until a hole is created. Smaller holes create greater pressure.
- At the very center of the can bottom, create an additional hole. To punch through this, hold the tack or nail with the pliers and gently hammer until it has gone completely through.
- Using the needle nosed pliers, carefully grip the cut edge taller of the two cans (the one without holes) and twist slightly. This should create a small crimp. Continue to do this along the entire edge around the can so that it becomes slightly narrower than the shorter can portion.
- For optionally greater efficiency, fill the inside of the taller portion with loose fiberglass insulation, not packing it down too tightly. Use caution as fiberglass insulation can be an irritant. Do not get any in your eyes and wash your hands afterwards.
- If desired, add sealant along the inner side of the shorter can with the holes. Spread with a paper towel. Wear gloves for extra safety.
- Carefully place the cut edge of shorter can portion over the crimped edge of the taller can and press them slowly together until there is a natural resistance. Too much force should not be applied.
- If desired, spread sealant along the joint edge of the joined cans and wipe somewhat smooth.
Fuel for All Alcohol Stoves
Alcohol fuel is common and often low in cost as well, which is another clear advantage. Some variations of alcohol are better suited to hiking and backpacking than others, but most of them can be used to good effect. Some products should be handled with care, but standard denatured alcohol is overall fairly safe. Even if not hiking or backpacking, alcohol can be a good choice. The cheap and easily found fuel is perfect for camping trips.
Disadvantages of Low-cost Alcohol Stoves
All alcohol stoves can run into issues with wind or cold temperatures. Wind barriers are important, though aluminum foil is generally an acceptable solution. To use an alcohol stove, one must consider these factors in advance.
The low-cost versions that are made at home are going to be less efficient than the store-bought versions. Similarly, most alcohol stove variations will not manage a hard boil. The lower efficiency of a low cost homemade alcohol stove makes difficulty almost guaranteed. Making the stove shorter will improve flame efficiency, but lowers the holding capacity.
Plan a camping, hiking or backpacking trip menu according to the capabilities of an alcohol stove. Nothing is worse than planning something that requires a long cooking and using up far more fuel than was intended. Refilling and starting the stove each time the fuel burns off is a bother as well. Useful recipes for using an alcohol stove can be found at TrailCooking.com under “freezer bag cooking”. A good example of this sort of cooking is the Almond Date Couscous Breakfast Porridge.
Never pour more fuel into the alcohol stove until it is absolutely certain the fire is completely out. This is another reason that it can be so difficult to use the stove for extended cooking.