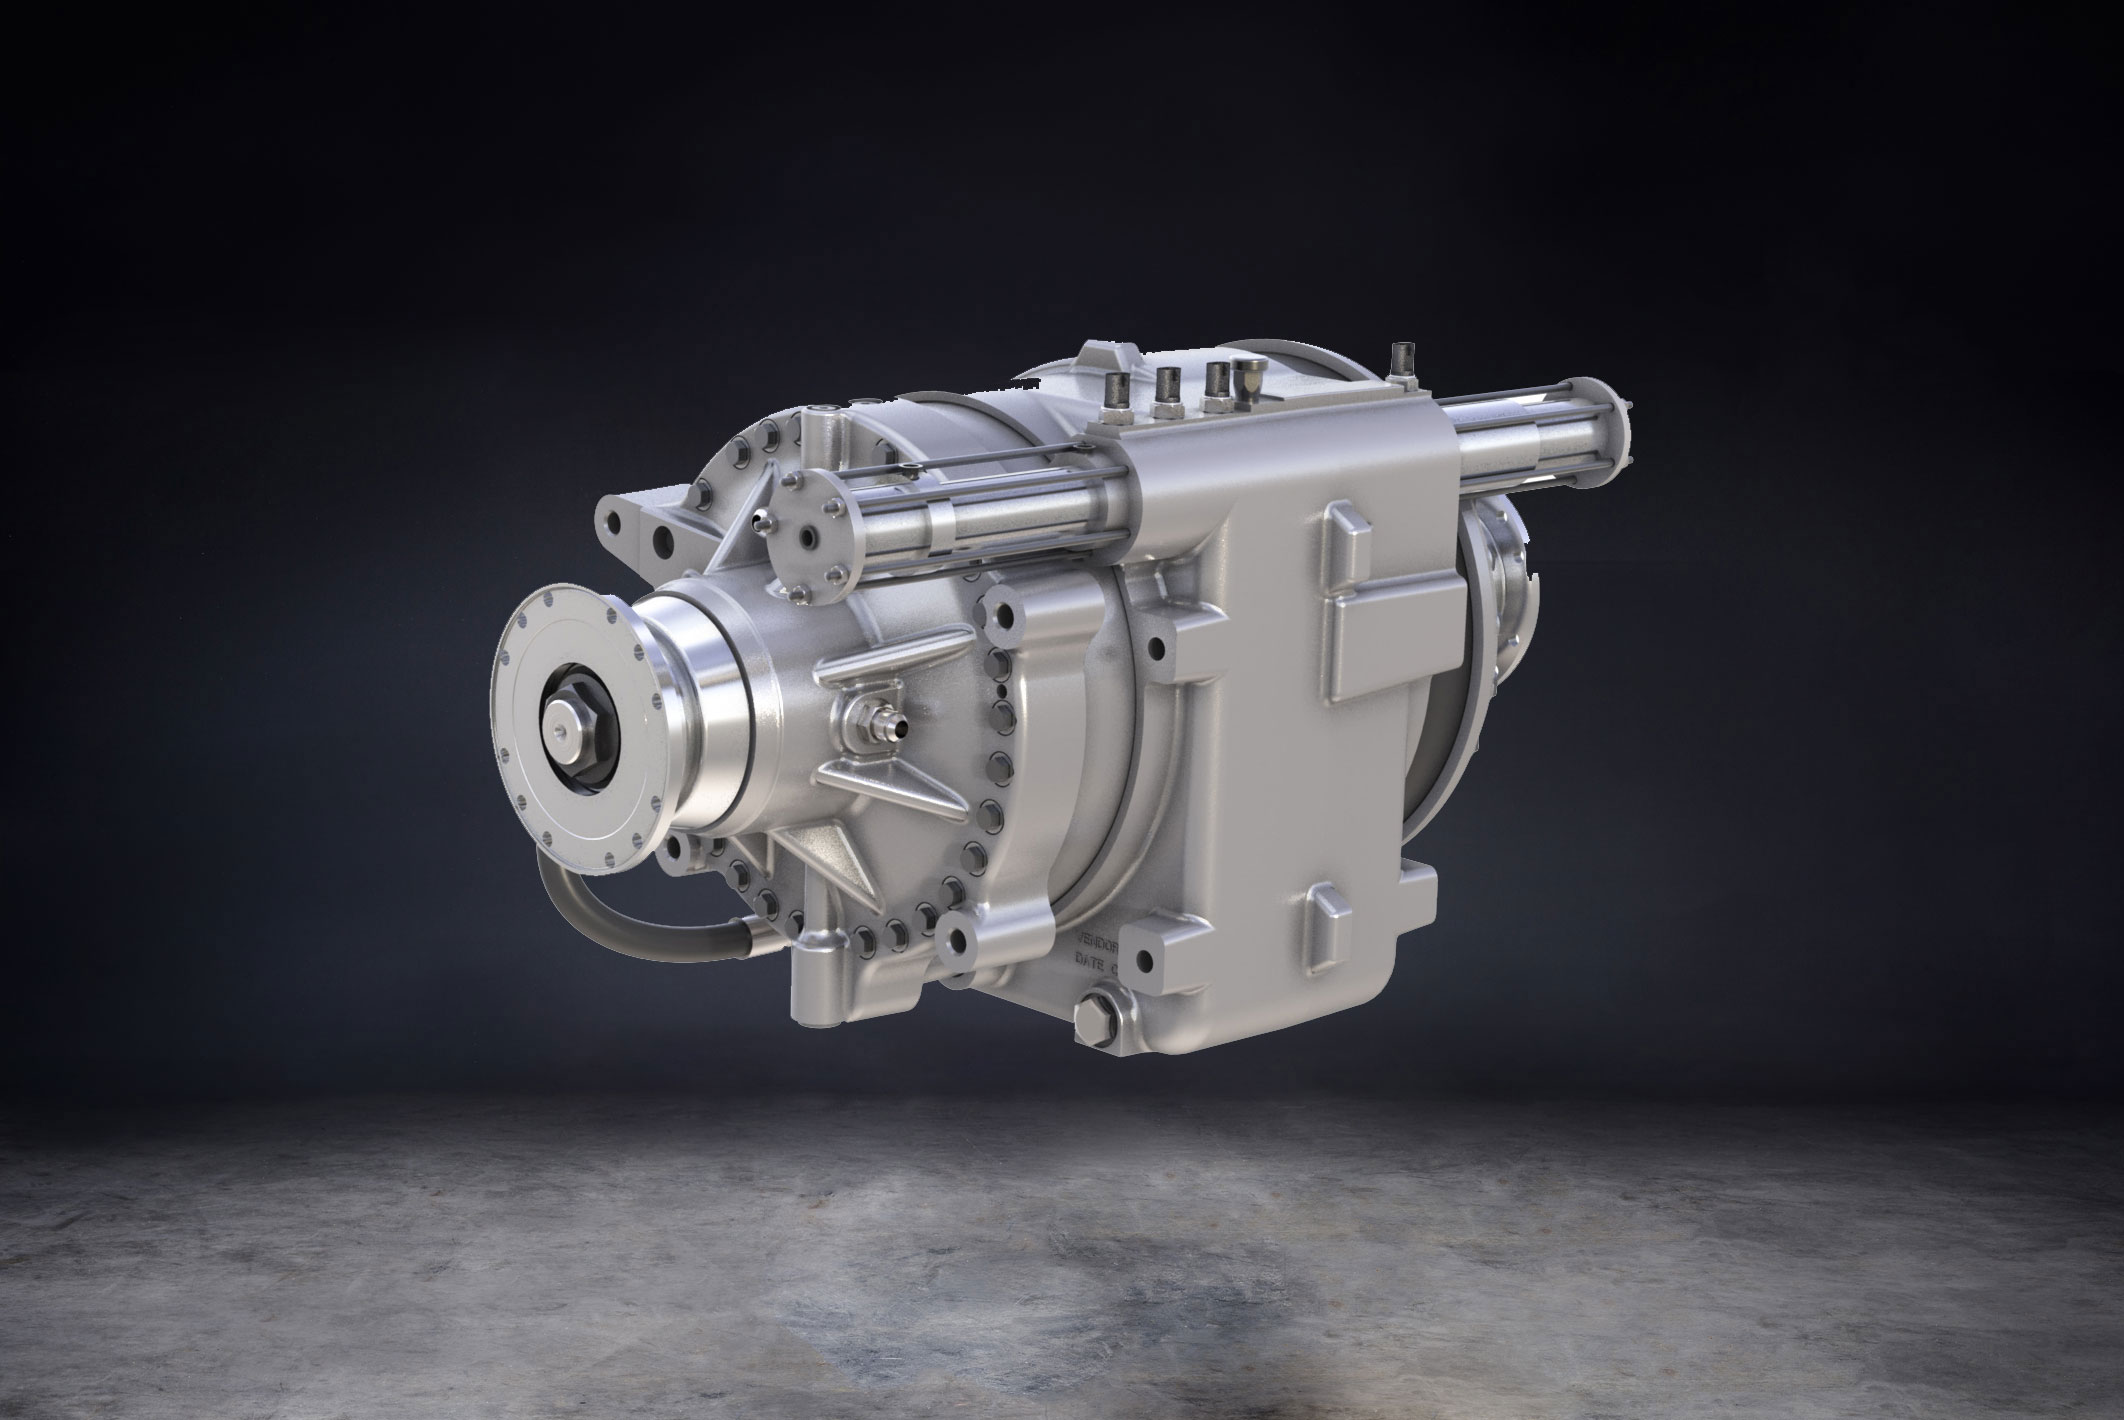
15 Oct How to Install Heavy Duty Transmissions
Here are a few things to keep in mind when installing your heavy-duty transmission. Dial-in your bell housing to make sure you are within specs. Check the mounting bolt holes for damaged threads and repair them if needed. If your tranny mounts are cracked or squashed replace them.
It is a good idea to replace your cross-shaft bushings and the fork, if the cross-shafts show wear too, replace them. Make sure all air lines are routed the correct way according to the schematics.
Inspect the yoke for nicks, burrs, or grooves and fix it with a speedi-sleeve or new yoke if needed. Clean and lubricate the yoke and lubricate the seal lip, now rotate the yoke as you go into the seal & torque to specs.
Shift the tranny into gear and get the tranny into position for installation, make sure your fork is pulled back. And as the tranny is slid into place flip the fork over the release bearing. Don’t let the tranny sag or drop during installation.
Inspect the driveline and replace hanger bearings and u-joints if needed, fill with gear lube. And test drive unit for 5 miles at 25 mph for the break in.


